Set up ArtDrop and create your first product
Connect your store, choose the products you want to sell, and upload artwork. ArtDrop prepares the product copy and creates your products.
Before you begin
- Have your Shopify or Etsy store login ready.
- For physical products, connect a print provider to that store. For digital downloads, choose Etsy.
- Choose a PNG, JPG, JPEG, TIF, or TIFF artwork file.
How it works
ArtDrop uses your saved products and writing preferences each time you upload artwork. Gelato and Printify can publish to your connected Shopify or Etsy store. ArtDrop creates Printful products that finish in Printful or, through a Shopify-connected Printful store, as a live Shopify listing.


Steps
-
Connect your store
Choose Shopify or Etsy under Storefront. Follow the connection instructions for your store.
-
Choose artwork storage
Open Storage, choose a service, and complete its connection fields. Use Save and test upload to check it. With a Shopify store, you can instead choose Send files straight to my print provider, which has no separate test, so check your first product closely.
-
Choose your products
During first-run setup, use Printers. Later, open Print on Demand to connect a provider and save products with the sizes, colors, artwork placement, and prices you want.
-
Choose how to write listings
Open Copy and Data. During first-run setup, use the Copy step. Choose generated copy or supply your own titles and descriptions. The app shows any credit or key requirements. To read and edit the copy before your first product publishes, turn on Review copy before publishing in the same step.
-
Upload your artwork
Open Drop Zone. If you have more than one store or use product lines, Dropping to shows where the upload will go: the active store with an optional line, or the stores checked under Publish drops to. Drag in your file, choose it from your device, or paste an image.
-
See your product
Follow the artwork in Live Log. If copy review is on, the drop waits in Drop Zone under Waiting for your review until you approve it. Then open the product in your print provider or store and check its artwork, variants, price, and listing copy.
Expected result
Your first artwork becomes the products you saved, with listing copy based on your choices.
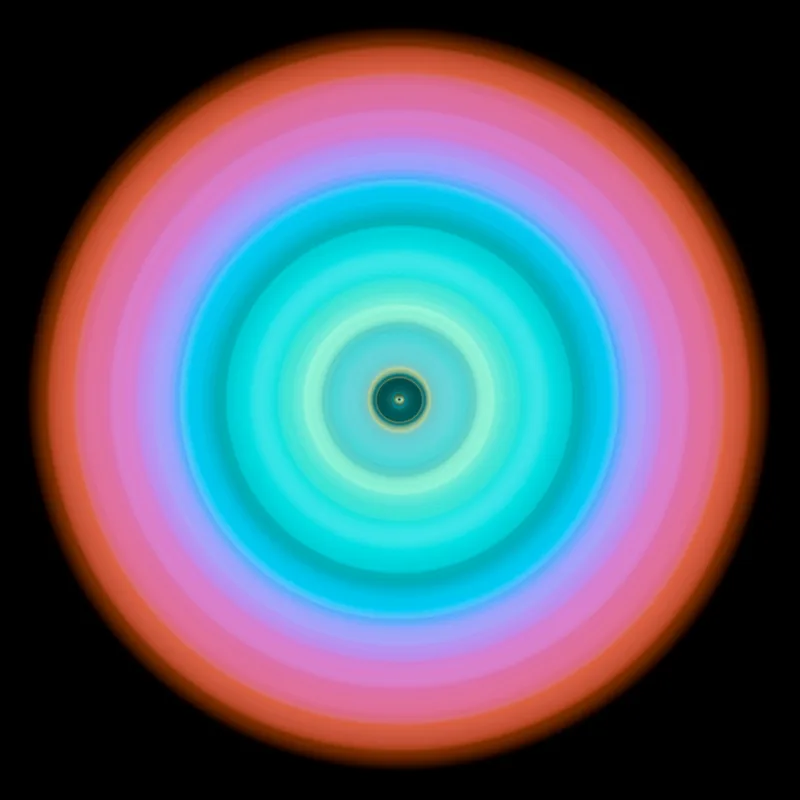
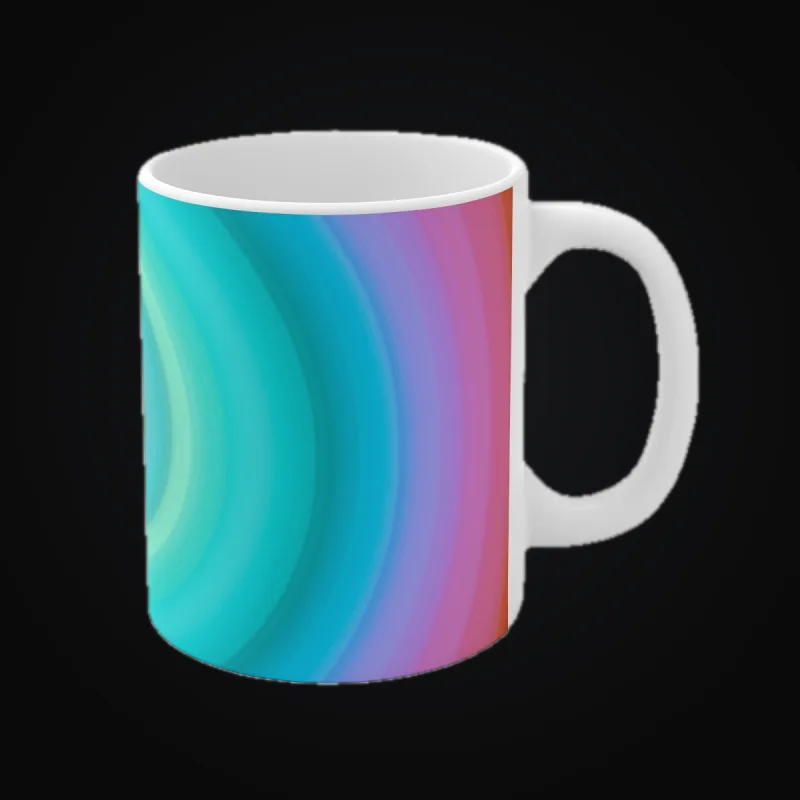
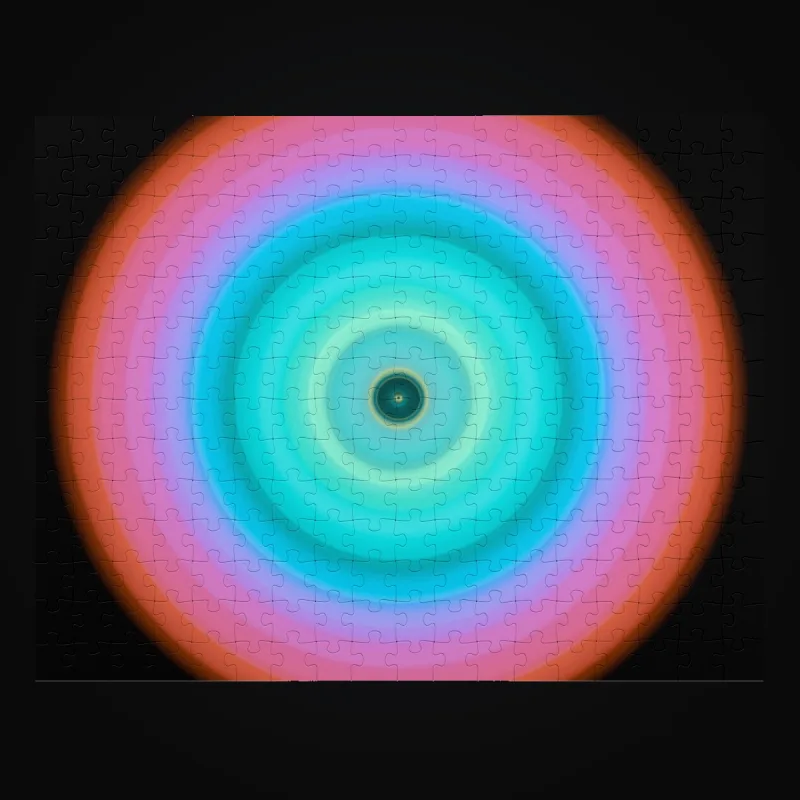
One artwork shown across finished product mockups
Good to know
- Try up to 3 free drops on ArtDrop Web, with no card required. Demo drops use your real connections, can create products in your store or print provider, and apply a watermark.
- ArtDrop handles product creation and listings. Your storefront and connected print provider handle purchases and fulfillment.
- An upload can contain up to 200 files and 3 GiB in total. Each artwork can be up to 2 GiB; your storage service or print provider may have a lower limit.
- Order a sample to check the finished print before offering a new product to customers.
- By default, publication to the official Pinterest for Shopify sales channel is automatic for each Shopify product created by ArtDrop once that channel is installed on the merchant's Shopify store. This is Shopify channel publication, not direct Pinterest publishing by ArtDrop.
Troubleshooting
- Wrong destination? Change the selected store before your next upload.
- A drop needs attention? Read its message in the Live Log and check for an existing product before uploading the same artwork again.
How to undo or clean up
Disable a saved product to stop using it for new drops. Remove test products from your store and print provider when you are finished with them.